

Quickstart: your first monitor
This guide takes you from a fresh account to a live monitor that alerts you when your site goes down - in about two minutes.
Before you start
Section titled “Before you start”- A HostTracker account - sign up with email, or with Google, Microsoft or LinkedIn. New accounts start on a 30-day free trial with up to 100 monitors at a 1-minute check interval, no card required.
- The URL of a website you want to watch.
1. Add a monitor
Section titled “1. Add a monitor”- On the Sites dashboard (
/sites), click Add monitor. - Leave the type as Website / HTTPS (the default).
- Paste your URL (for example
https://example.com). - Give it a name you’ll recognise in alerts.
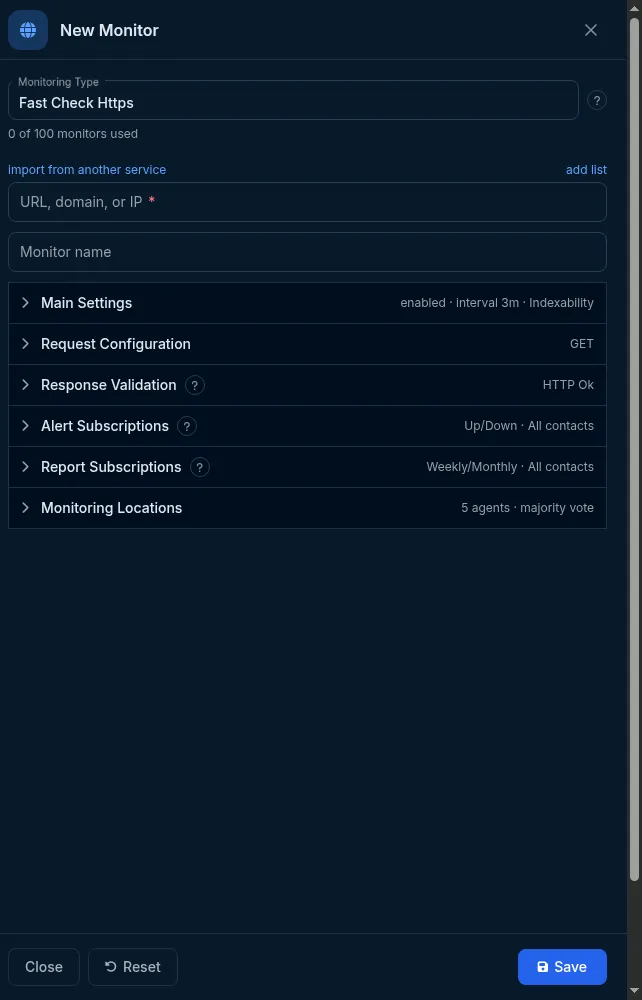
The New Monitor panel. Enter the URL at the top; the collapsible groups below hold every setting (all covered in Create a website monitor).
2. Choose how often to check
Section titled “2. Choose how often to check”Set the interval - how often HostTracker checks the site. One minute is the trial default and a good starting point; the fastest interval a paid account can use depends on its plan (see Plans and packages compared). Leave the timeout at its default unless your site is unusually slow.
3. Decide where to check from
Section titled “3. Decide where to check from”The monitor inherits your default monitoring locations. For a first monitor, All world is a safe choice. You can change this later, per monitor or as the account default.
4. Add an alert contact
Section titled “4. Add an alert contact”- Open the Alerts section of the form.
- Add your email (or connect Telegram, Slack, SMS and more).
- Choose to be alerted on Down and Up.
5. Save
Section titled “5. Save”Click Save. Your monitor starts checking immediately. Within a minute you’ll see its first result on the dashboard, and if the site fails a confirmed check (HostTracker re-checks from other locations before it calls it down - see How down detection works), you’ll get an alert.
Do it with the API or MCP
Section titled “Do it with the API or MCP”Mint a token at Integrations -> API (/integrations/api), then create a monitor with:
POST /monitorAuthorization: Bearer <token>{ "type": "http", "url": "https://example.com", "name": "Example site", "interval": 60, "locations": { "pools": ["allworld"] }}interval is in seconds and must be one of the account’s allowed intervals (GET /account ->
limits.intervals, also in seconds) - 60 is one minute. An AI assistant with an MCP connection uses the
create_monitor tool with the same fields, then subscribe_contact to attach an alert contact.
What next?
Section titled “What next?”- Set your default locations so every future monitor starts in the right place.
- Explore the monitor types - API, transaction, SSL, DNS, database and more.
- Build a status page to share uptime with your users.